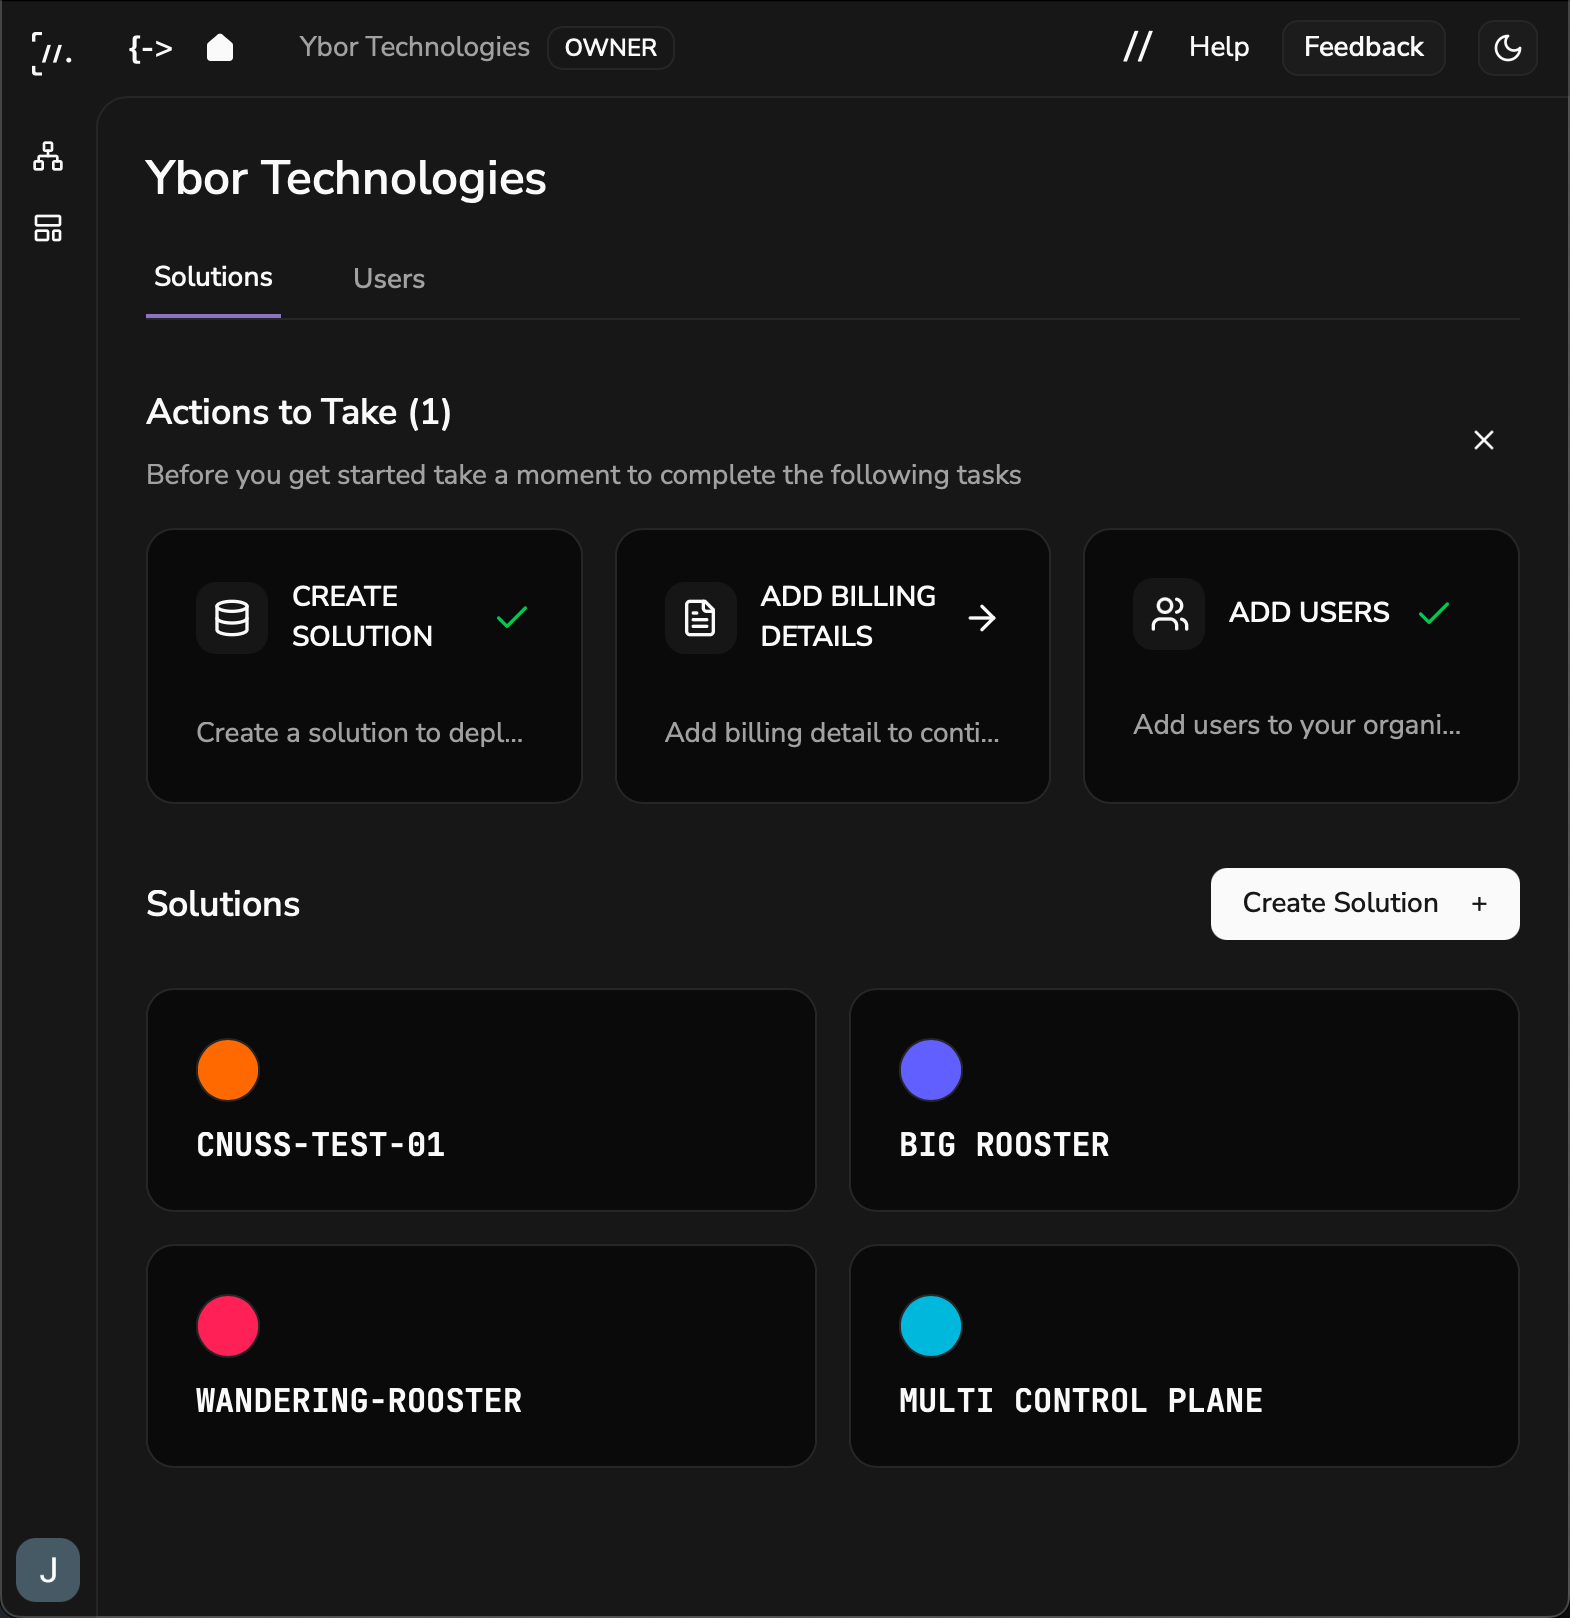
Creating Projects with Ybor Studio
Ybor Studio provides a web-based interface for creating new projects from standardized archetypes. This approach offers guided forms, validation, and optional direct deployment to GitHub.
Prerequisites
- Access to Ybor Studio (provided by your organization)
- A Solution configured in Ybor Studio
Step 1: Access the Catalog
- Log into Ybor Studio to view your organization dashboard
- Click on Catalog in the navigation to browse available blueprints
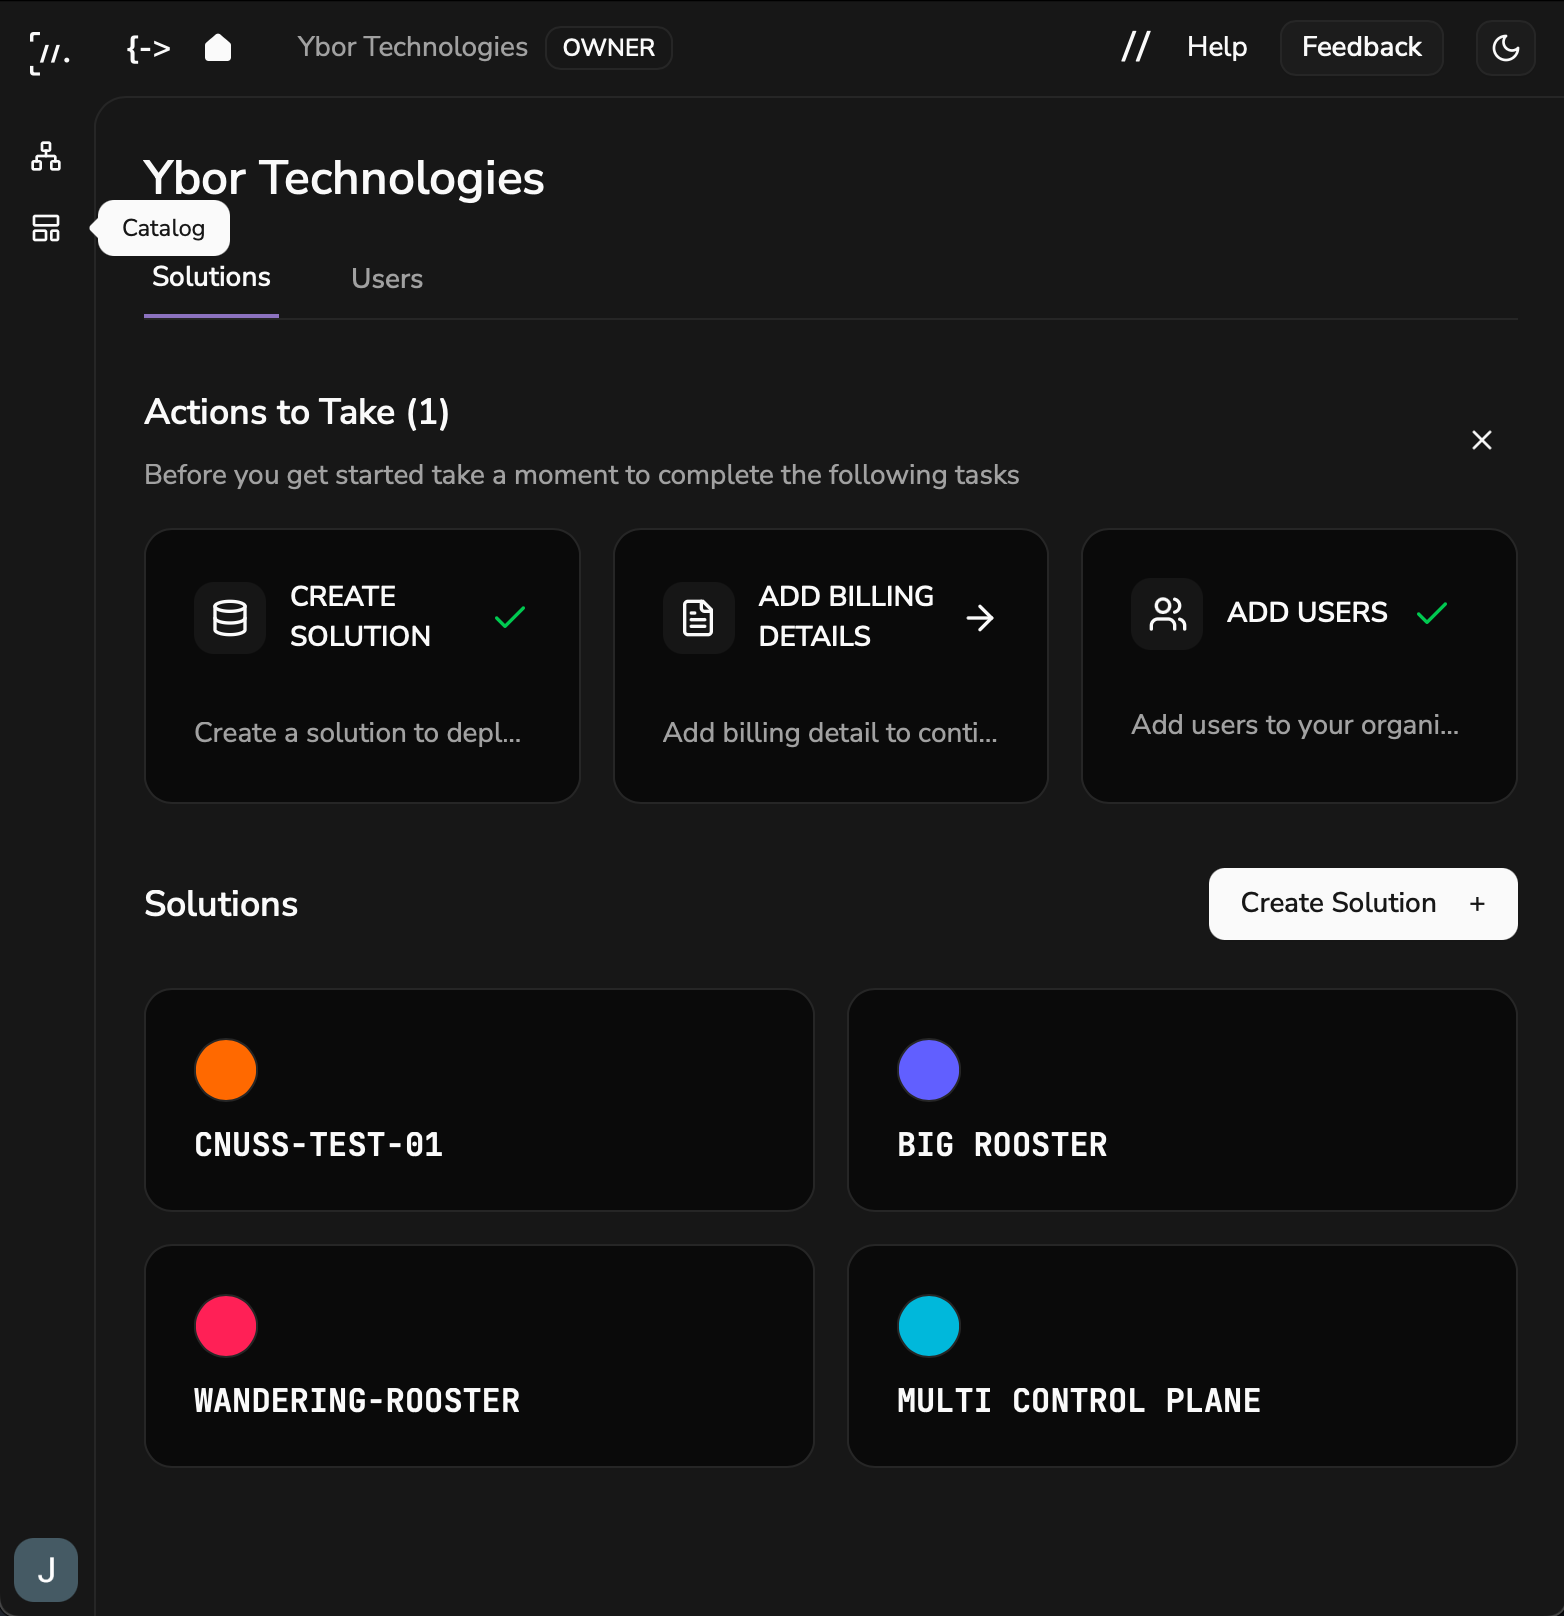
- Browse available archetypes by category using the filter tags
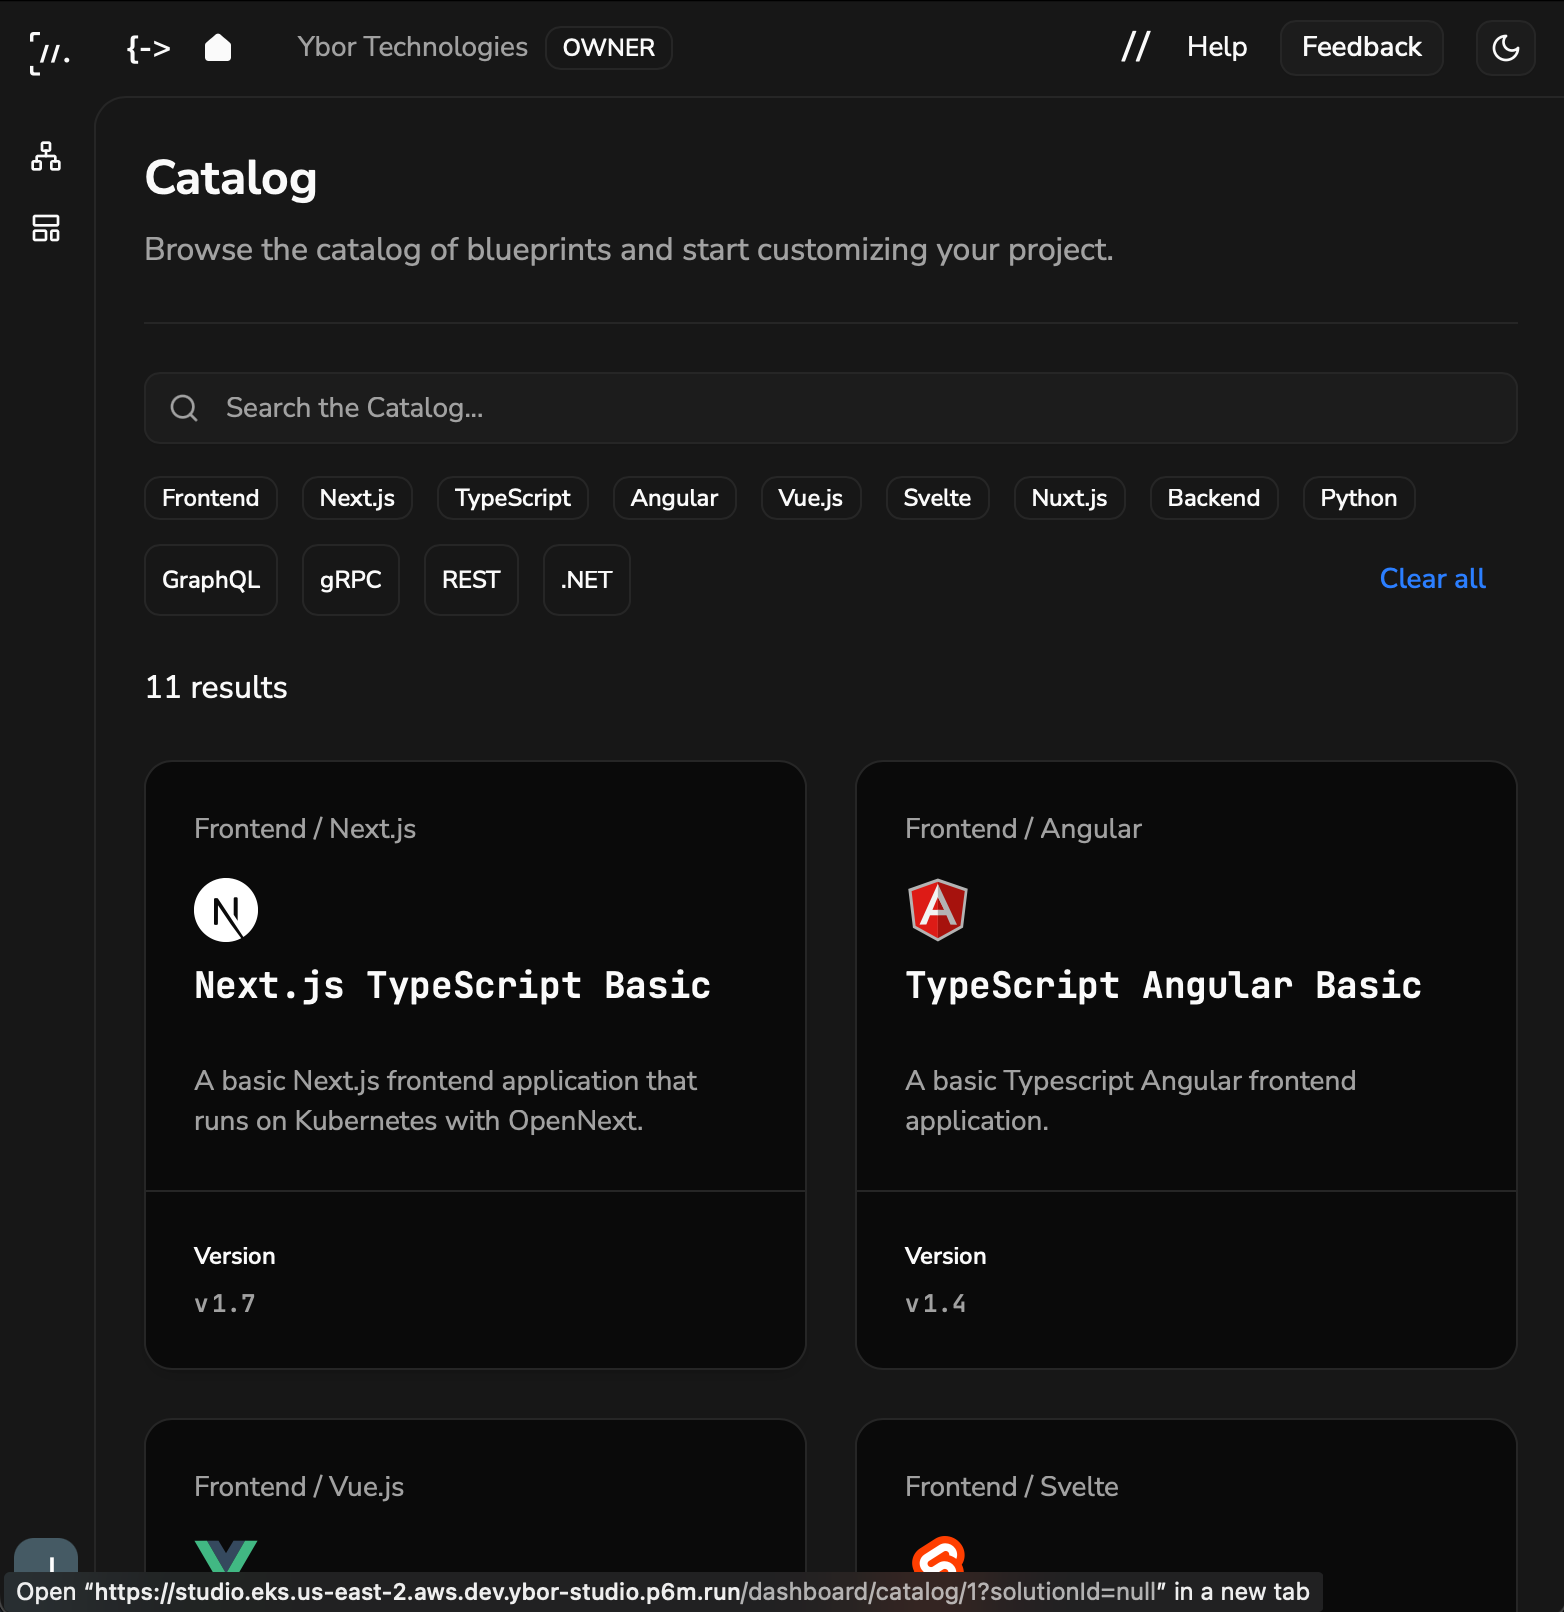
Step 2: Select an Archetype
- Click on an archetype card to view its details, technology stack, and included features
- Click Use Blueprint to proceed
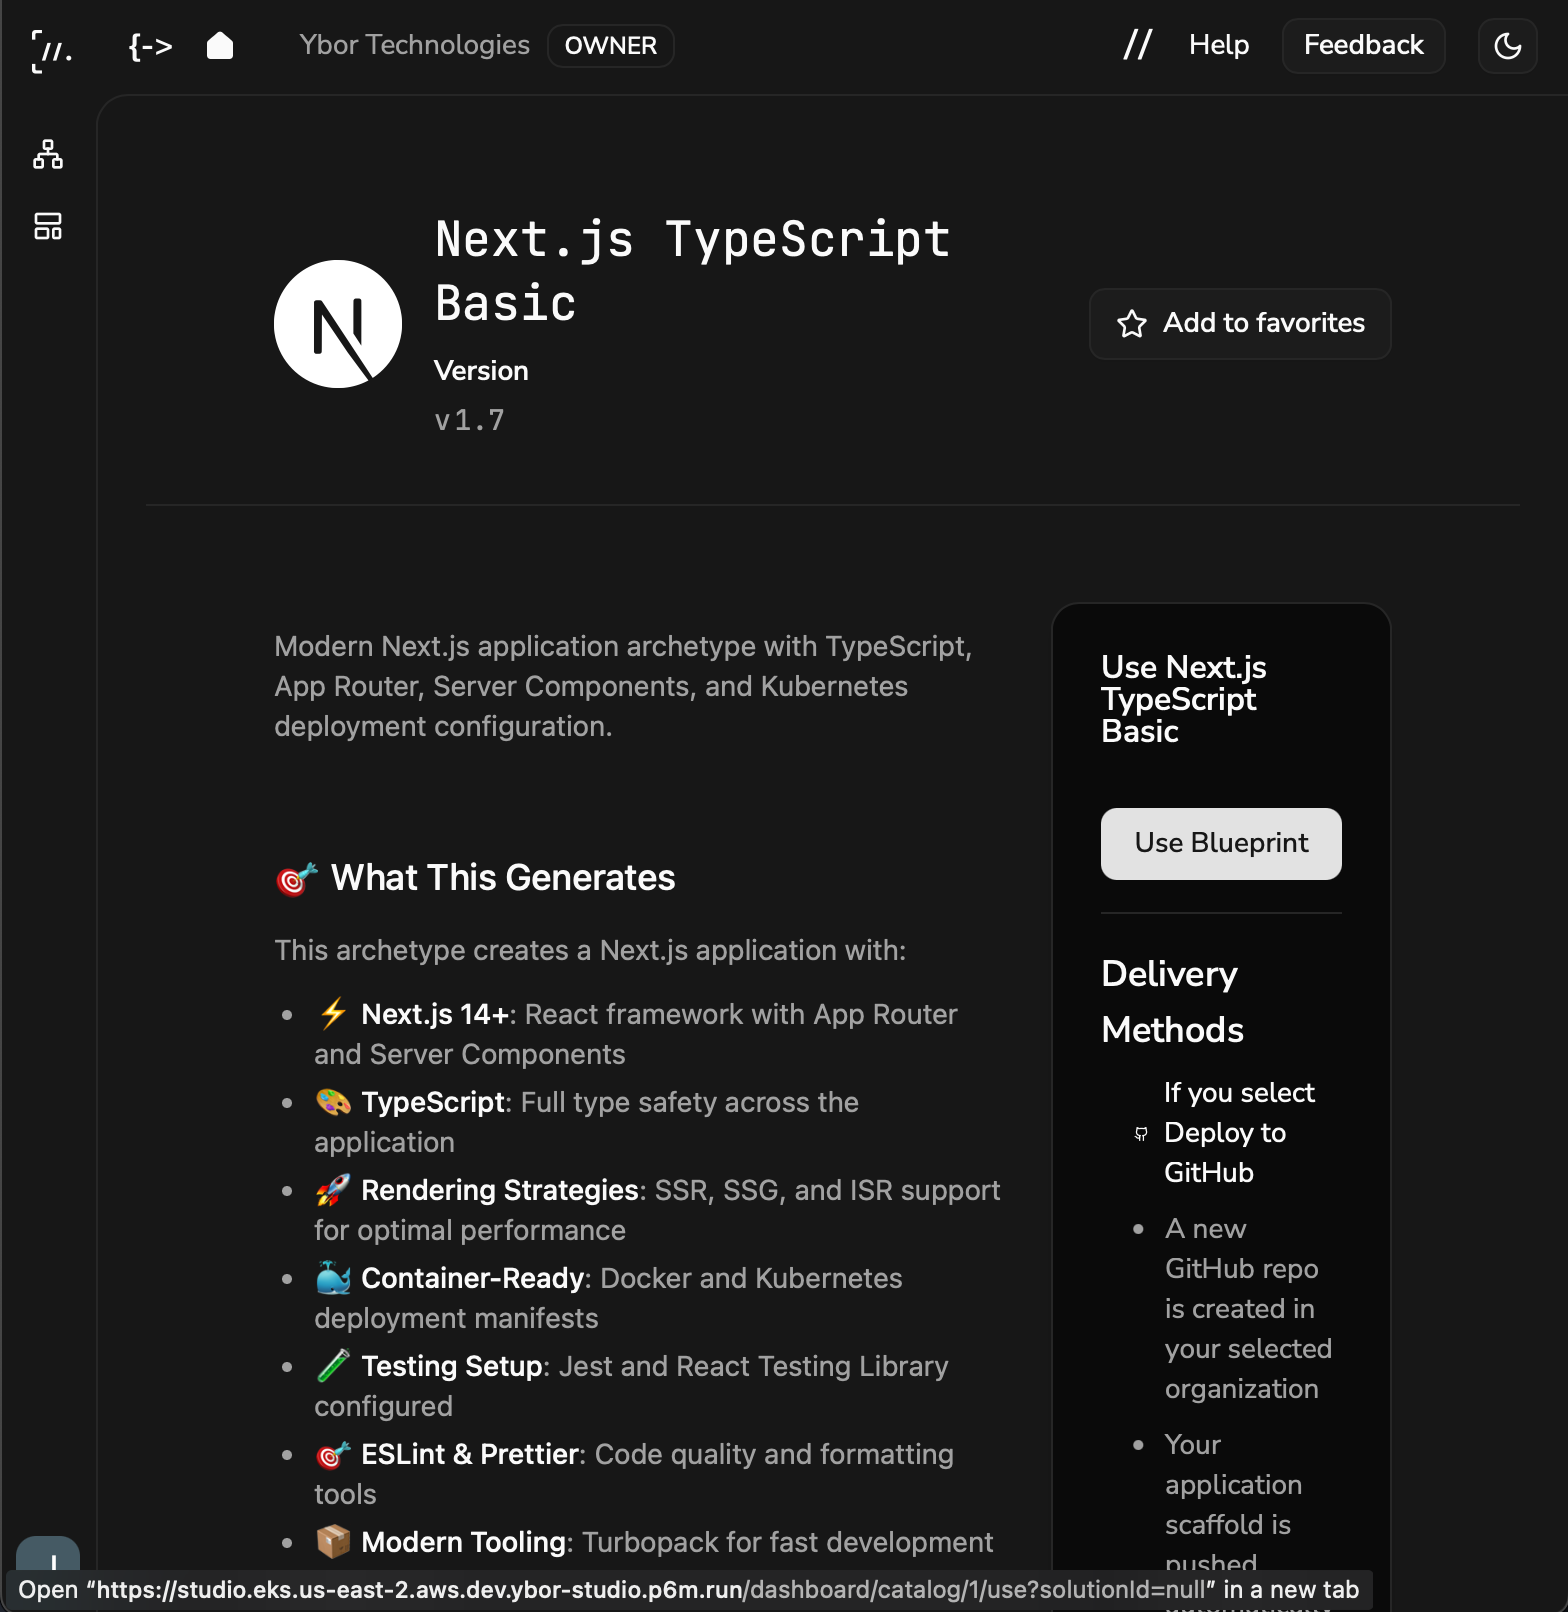
Step 3: Configure Your Project
Fill in the configuration form:
- Solution - Target solution (select from dropdown)
- Project Title - Display name for your project
- Project Prefix - Technical prefix used in naming (suffix like
-frontendis appended automatically)
Additional archetype-specific fields will vary depending on the selected archetype.

Delivery Method
Deploy to GitHub creates a repository automatically in the GitHub organization mapped to your selected Solution. The repository name is derived from your project inputs. Click Deploy to generate the project, push the code, and configure CI/CD pipelines. The application card will appear in your Solution dashboard within a few minutes.
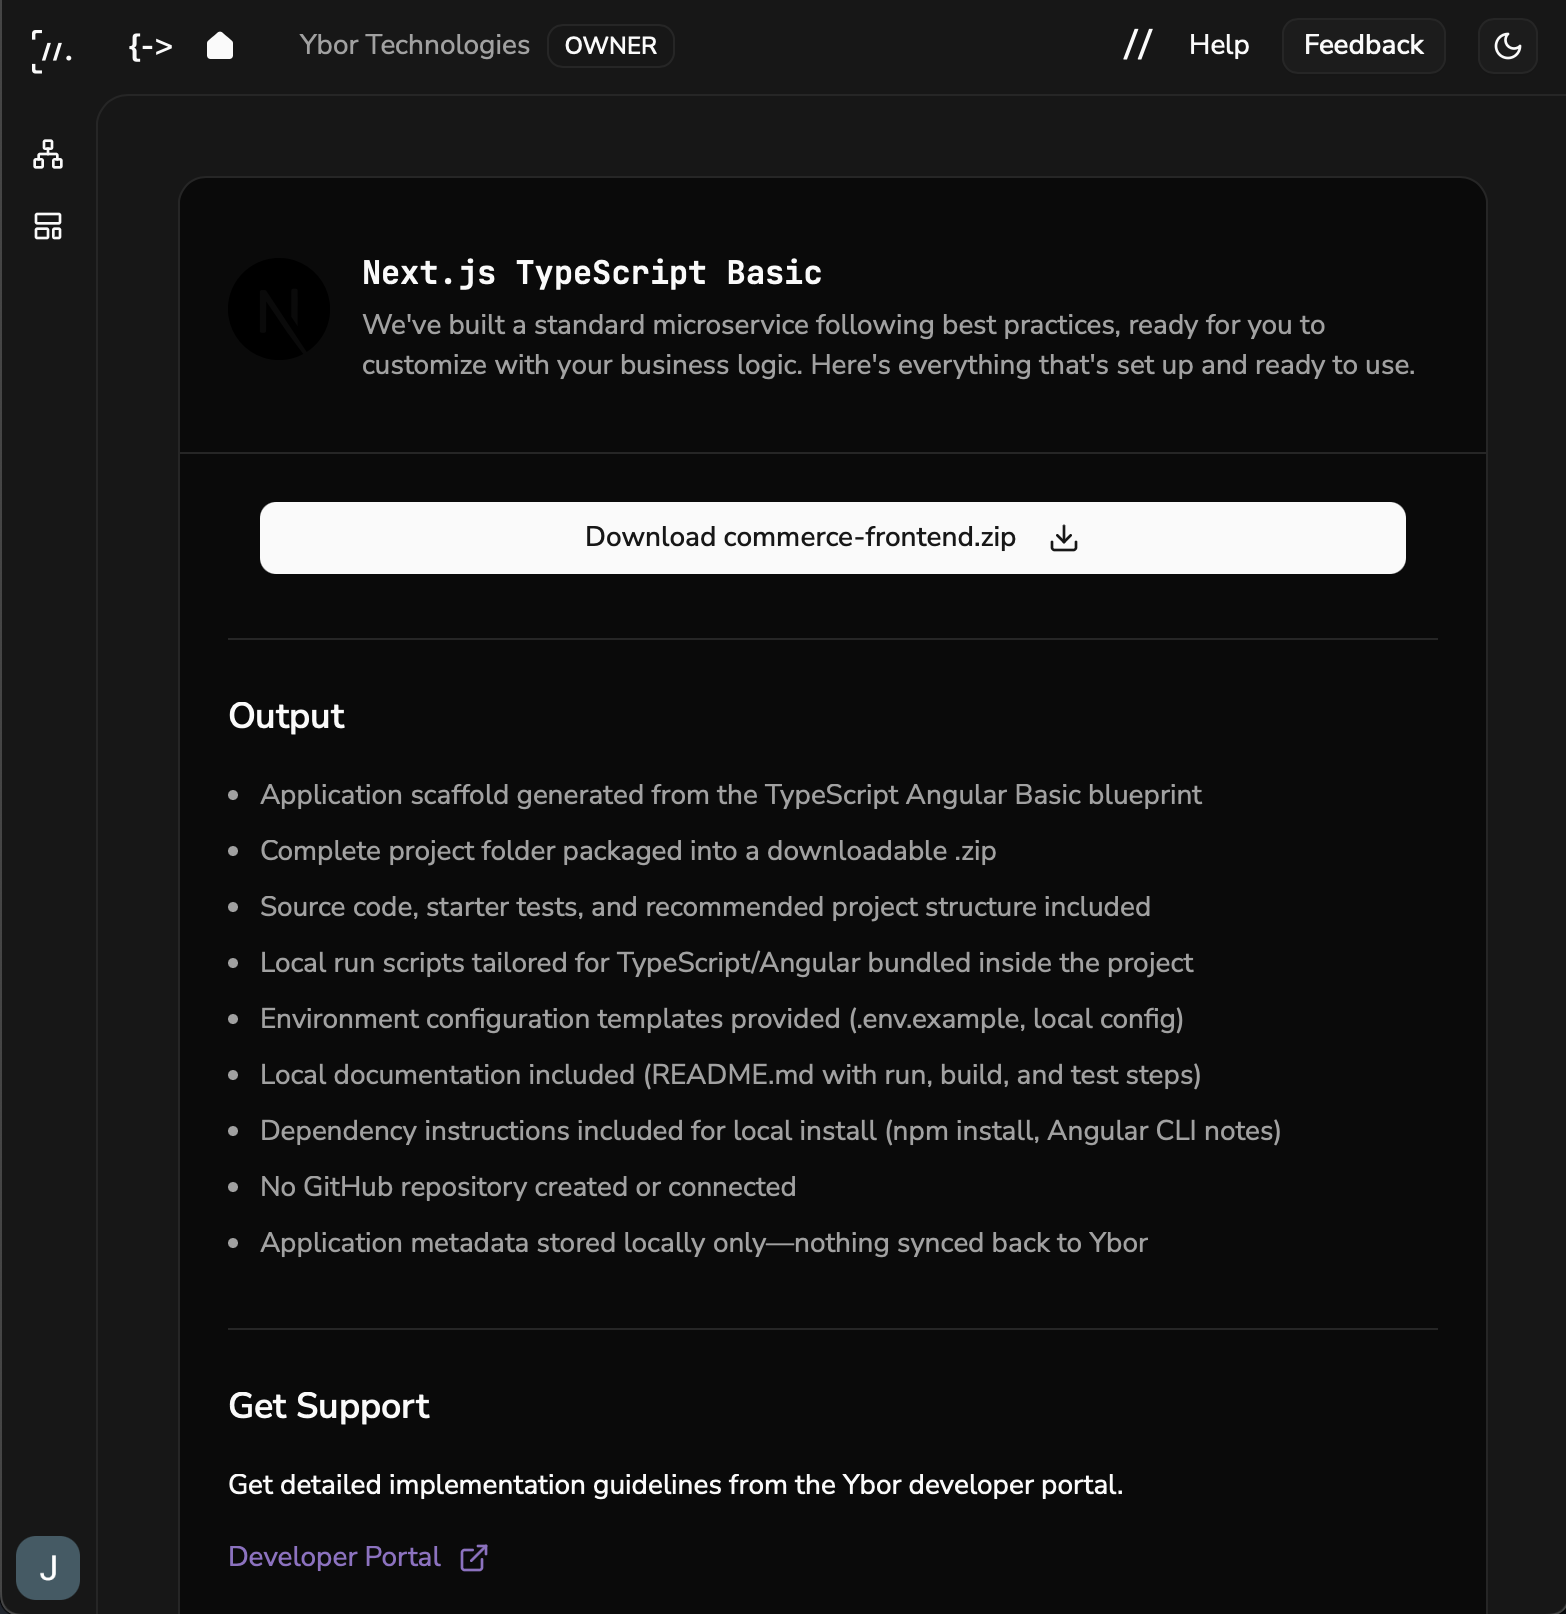
Download Locally generates a ZIP file you can extract and push to your own repository when ready.
Step 4: Download or Deploy
After choosing a delivery method and clicking Deploy, Ybor Studio generates your project. Once complete, download the ZIP file or verify your GitHub deployment.
For GitHub deployments, navigate to your Solution's Applications section and verify the new application card appears. It will include links to the GitHub repository, Argo CD applications, and Grafana dashboard.
For local downloads, extract the ZIP file and follow the README instructions for local setup.
What's Included in Your Generated Project
Every project generated through Ybor Studio includes platform capabilities out-of-the-box:
| Capability | What You Get | Learn More |
|---|---|---|
| CI/CD Pipelines | GitHub Actions for build, test, version tagging, and promotion | Builds |
| Container Configuration | Optimized Dockerfile with multi-stage builds | Containerization |
| Deployment Manifests | PlatformApplication with Kustomize overlays for dev/staging/prod | Deployments |
| Health Endpoints | /health, /health/live, /health/ready endpoints | Health Checks |
| Structured Logging | JSON logging configured for platform collection | Logging |
| Metrics & Tracing | Prometheus metrics endpoint and OpenTelemetry hooks | Metrics, Tracing |
These are pre-configured to work with the Ybor Platform. Consult the reference documentation to customize behavior or understand how each capability works.
Post-Creation Steps
- Review the generated README for setup instructions and architecture overview
- Configure any required secrets or environment variables
- Run the application locally to verify
- Review CI/CD pipelines in GitHub Actions
- Check Argo CD for application deployment status
Related
- Archetect Setup - Install and configure the Archetect CLI for command-line project creation
- Integrating Existing Applications - Add these capabilities to existing applications
Reference: JIRA ticket YP6M-1173