Creating Projects with Command Line (Archetect)
Archetect is an interactive command-line tool for generating new projects from standardized archetypes. This approach provides a terminal-based, scriptable workflow with full control over when and how code reaches repositories.
Prerequisites
- Archetect CLI installed and configured with the P6M catalog
- Git installed and configured
- GitHub CLI installed and authenticated (for the recommended publish flow)
If your organization requires all project creation to go through Ybor Studio, you may not have access to the command-line approach. Contact your platform administrator if you need Archetect access.
Step 1: Open a Terminal
Navigate to the directory where you want your project to be generated:
cd ~/tmp/demo
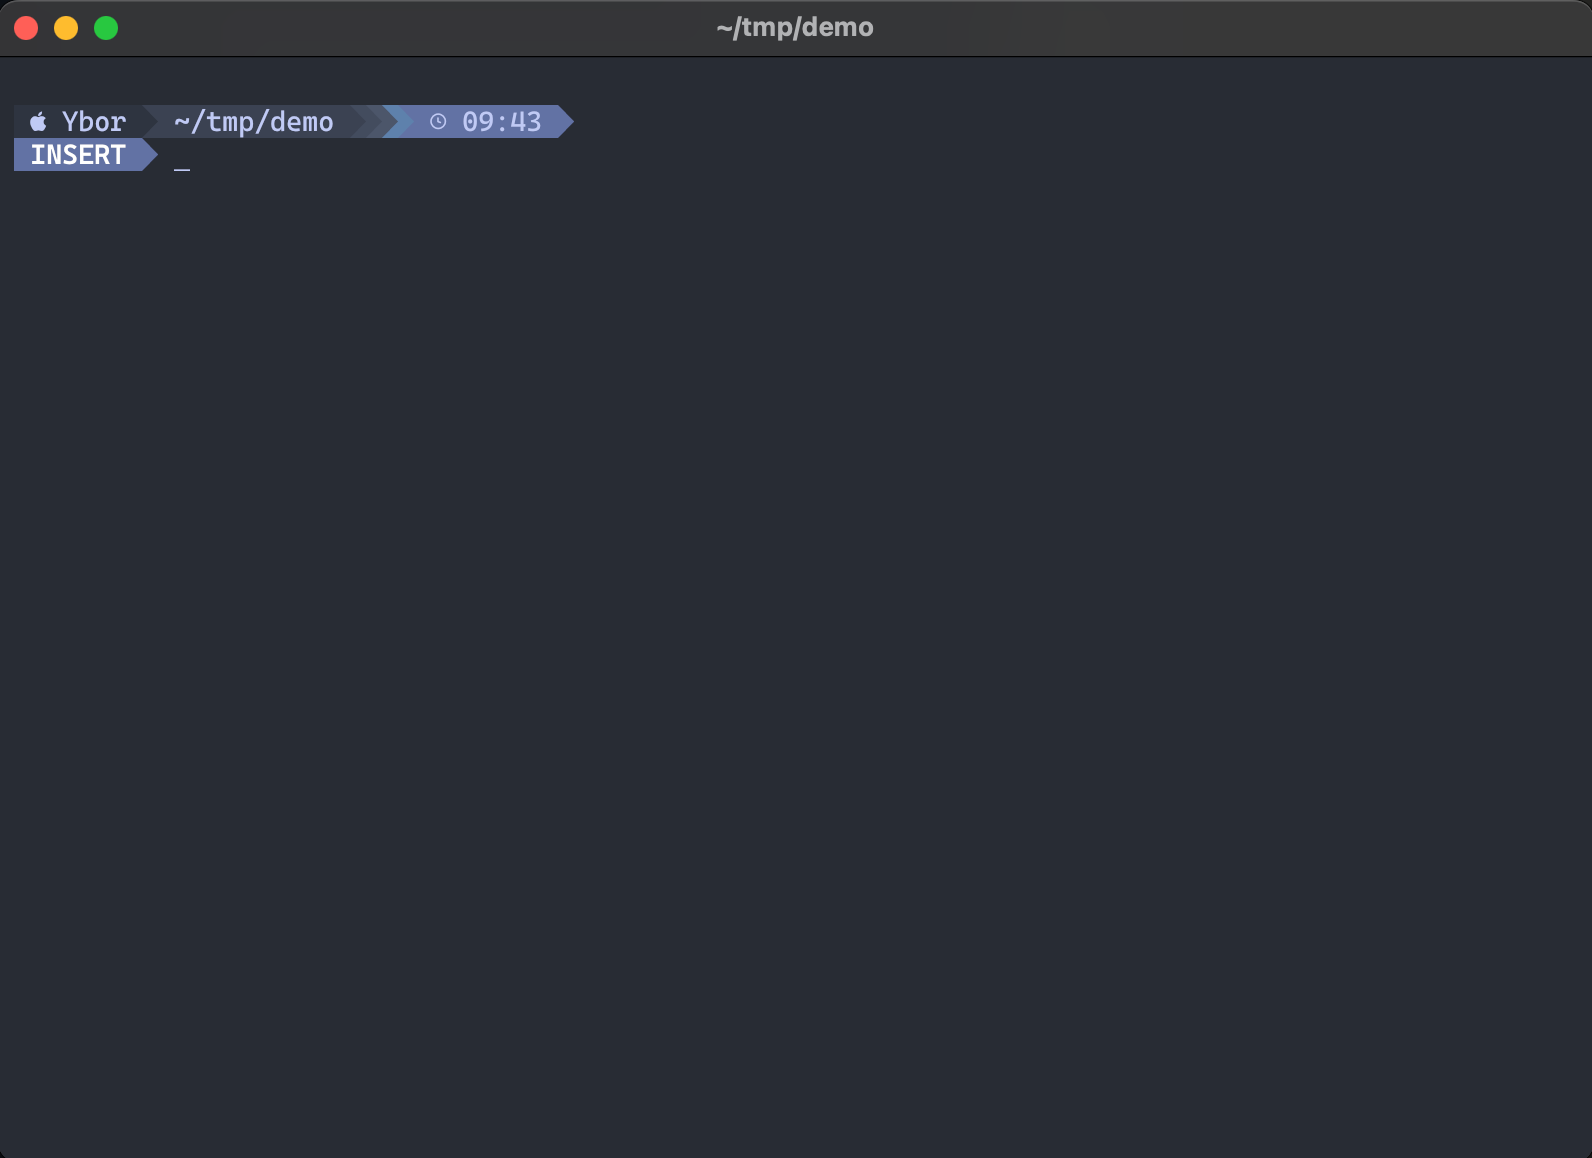
Step 2: Launch Archetect
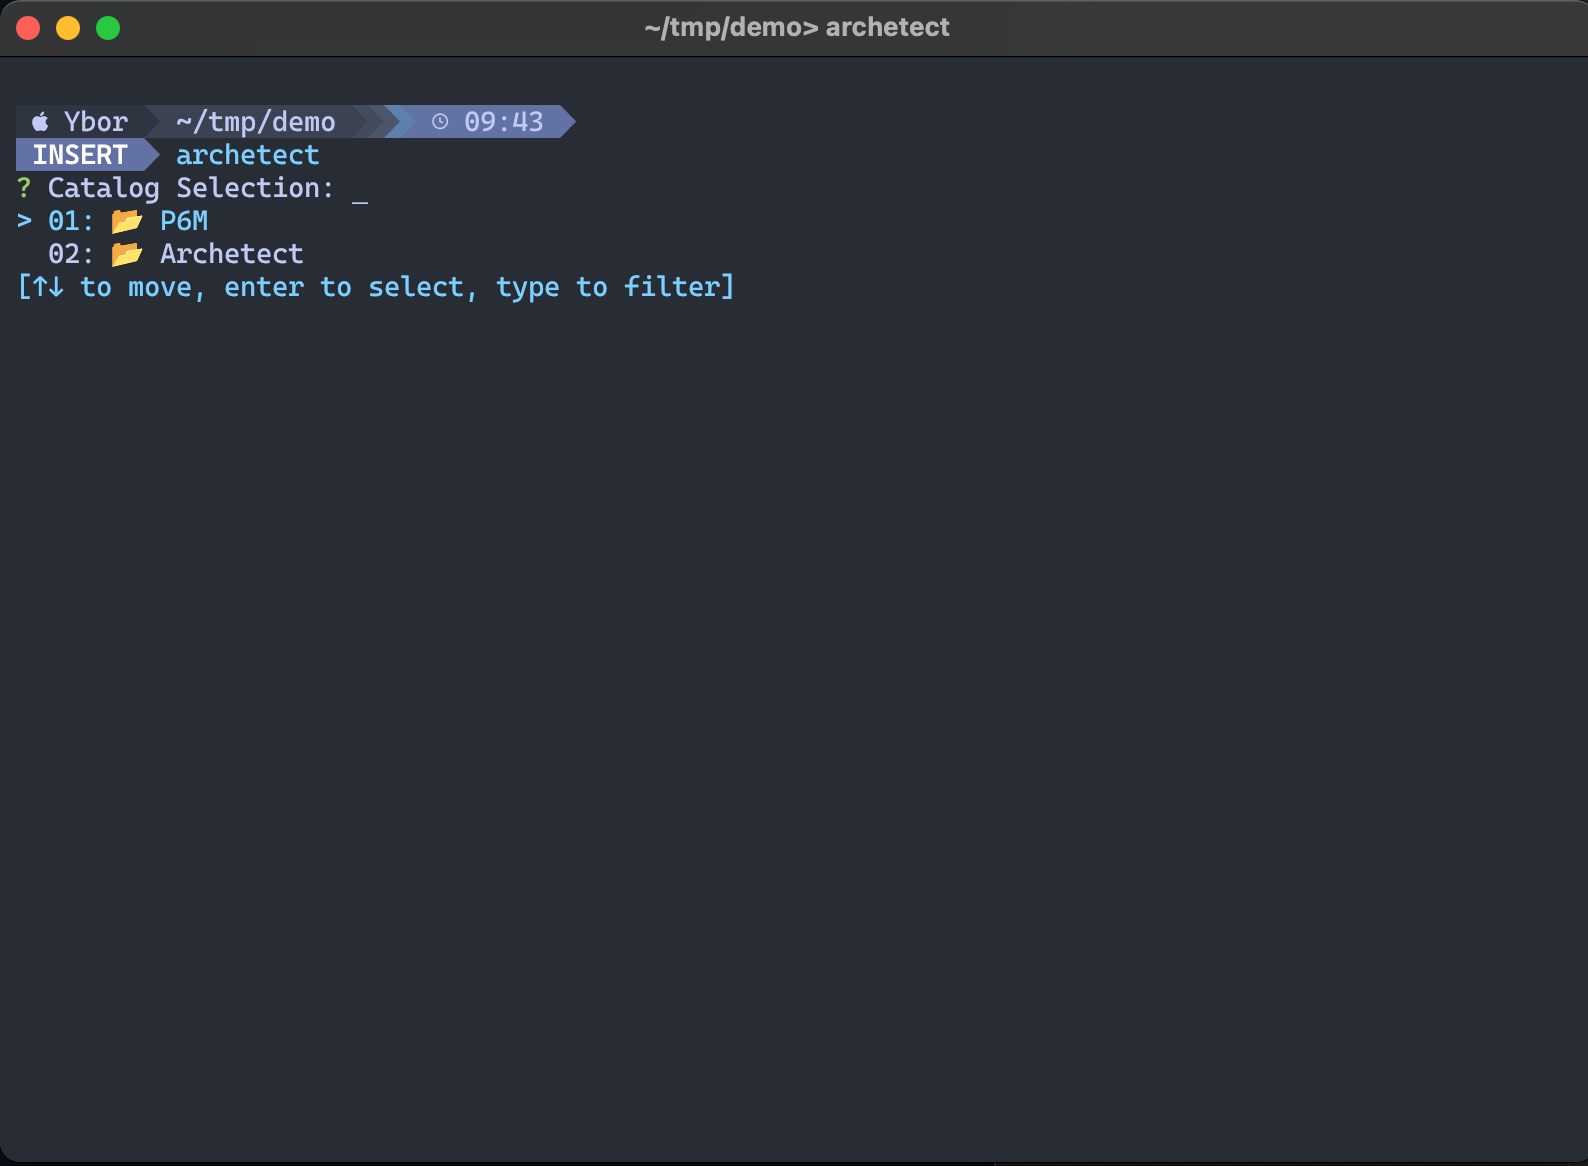
Run the archetect command to open the interactive catalog browser:
archetect
Select 01: P6M to browse the P6M archetype catalog.
Step 3: Browse the P6M Catalog
Archetect displays the top-level P6M categories. Use the arrow keys to navigate and Enter to select a category.
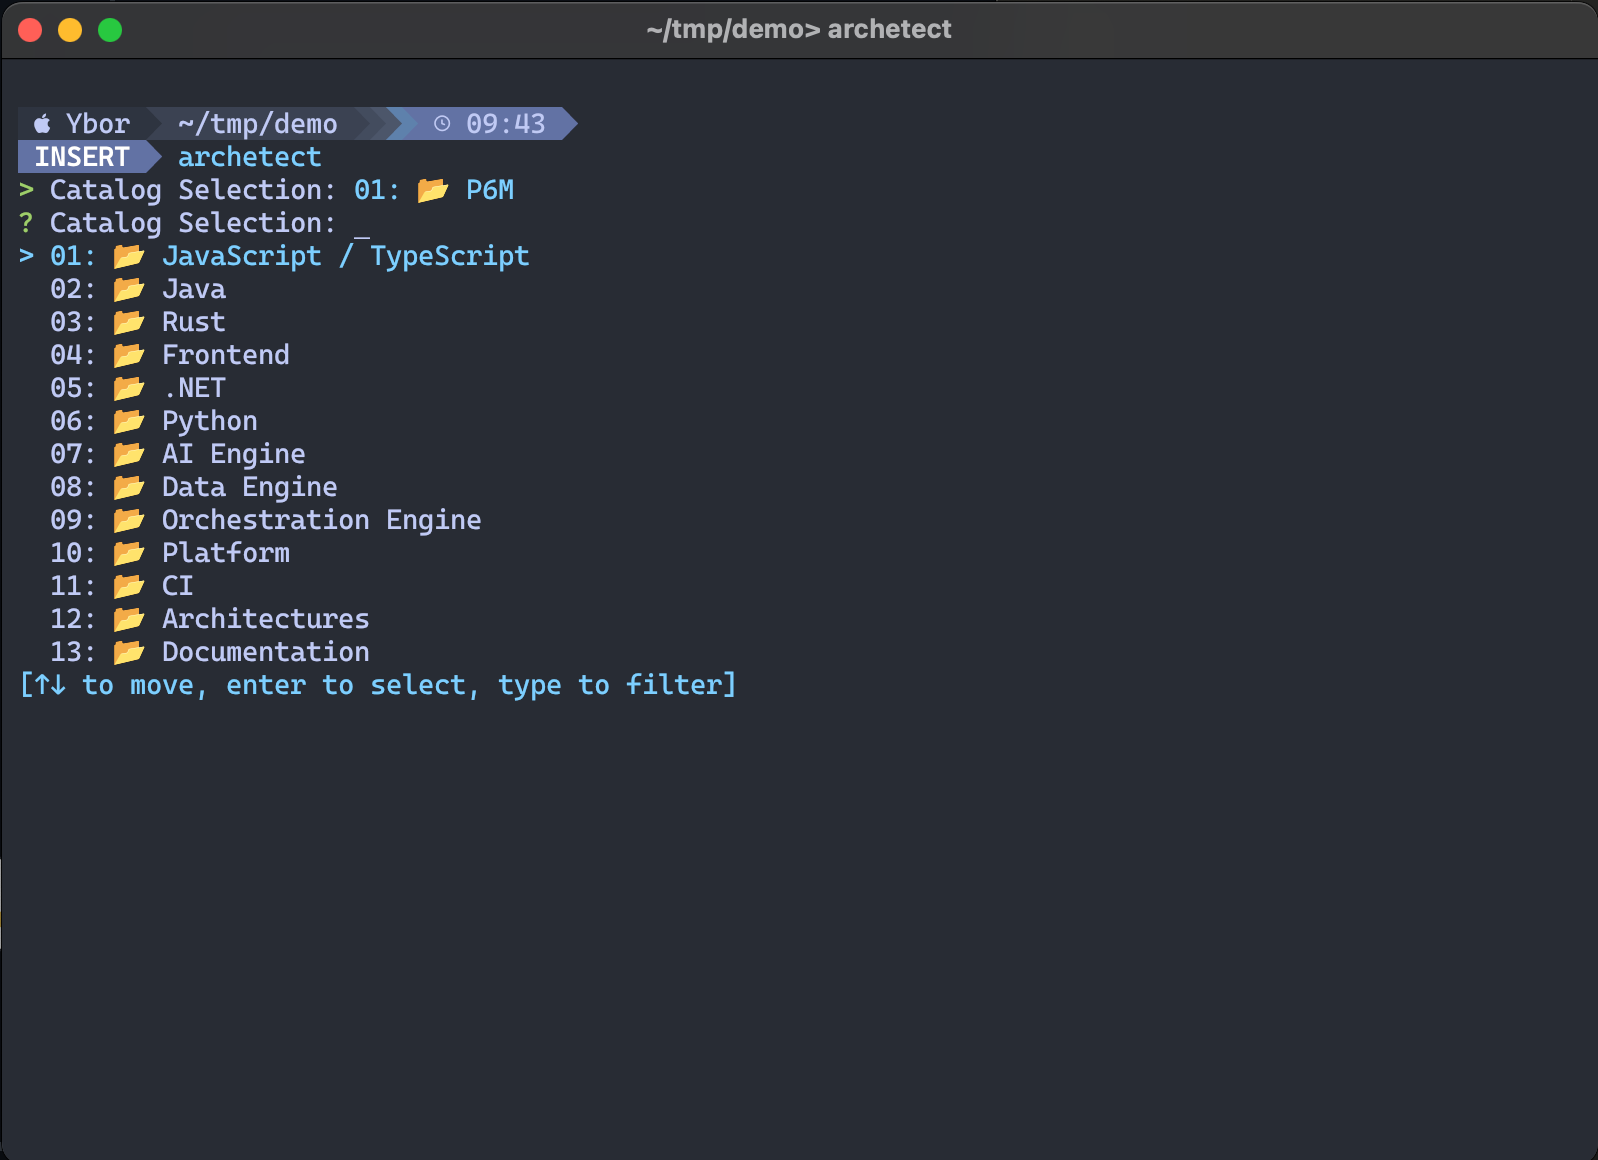
Step 4: Select an Archetype
Navigate into a category to see its available archetypes, then select the one that matches your use case.

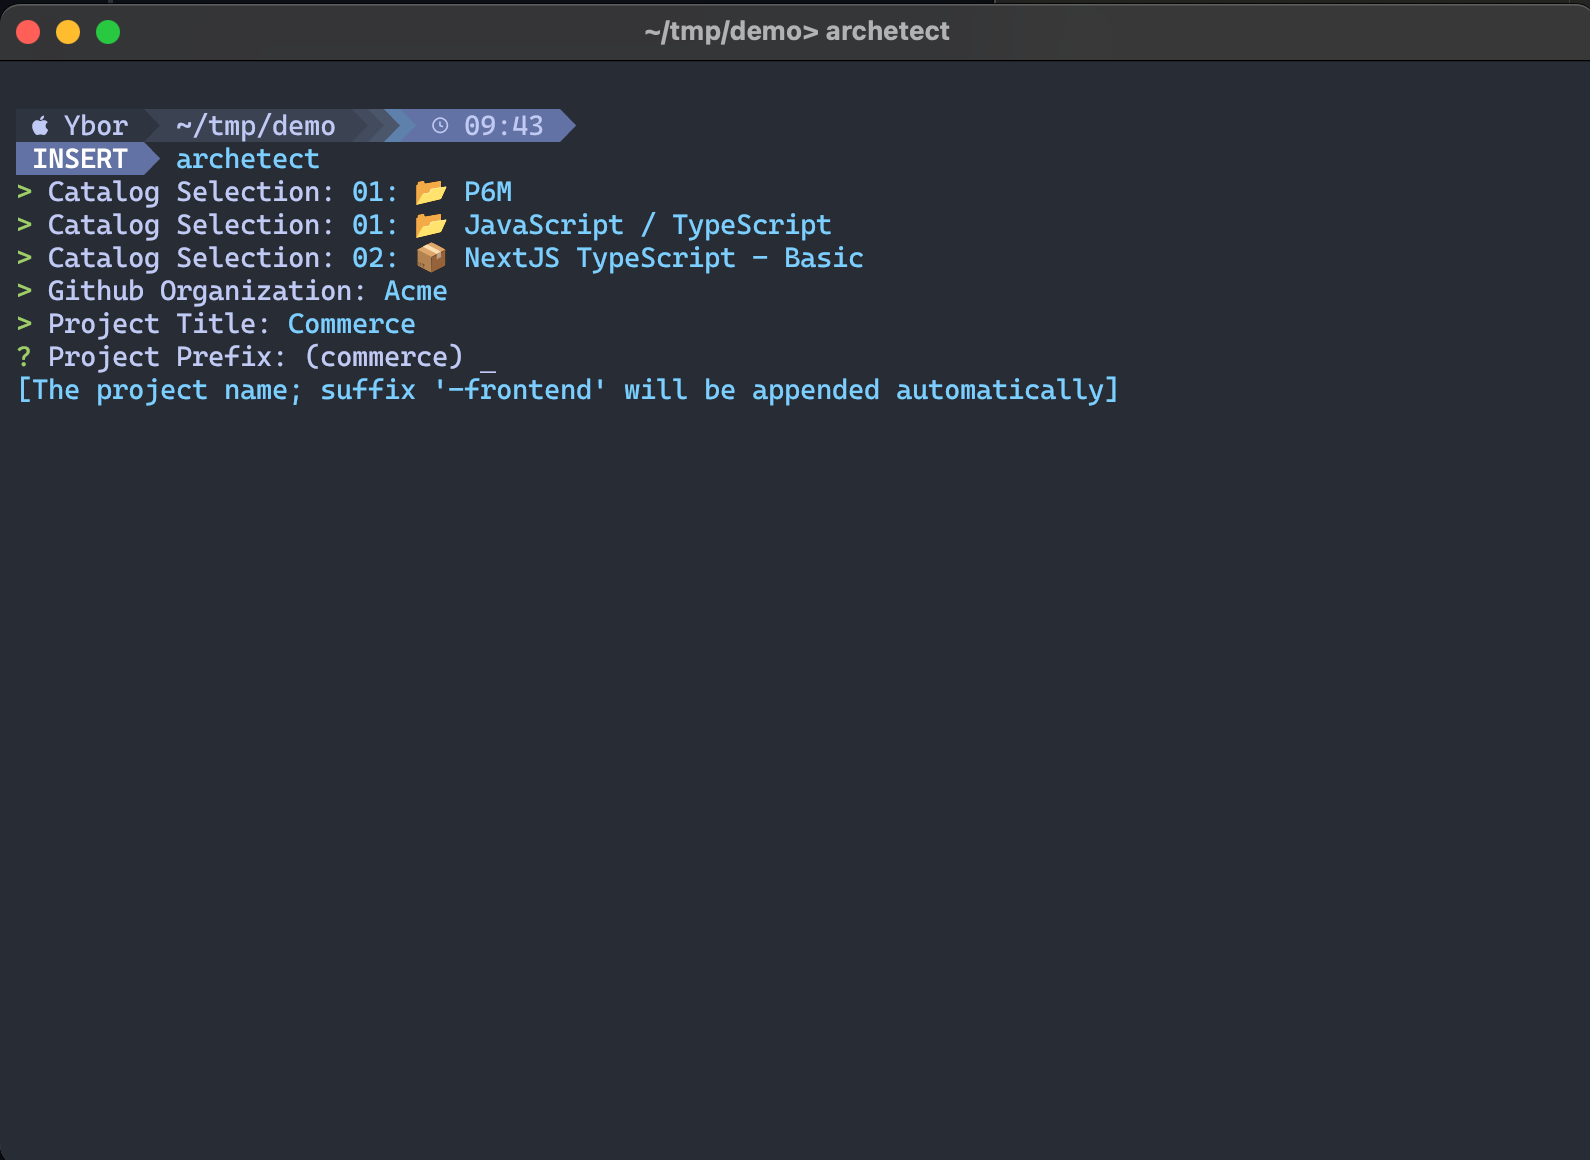
Step 5: Configure Your Project
Archetect's prompting engine walks you through a series of questions defined by the archetype author. Prompts vary by archetype but commonly include things like your GitHub organization, solution name, project prefix, database choice, or port configuration.
Answer each prompt to configure your project. Archetect uses your answers to render the generated output.
Step 6: Generate and Publish
After configuration, Archetect generates your project locally and outputs the commands needed to publish it to GitHub. Run the provided commands to initialize the repository and push:
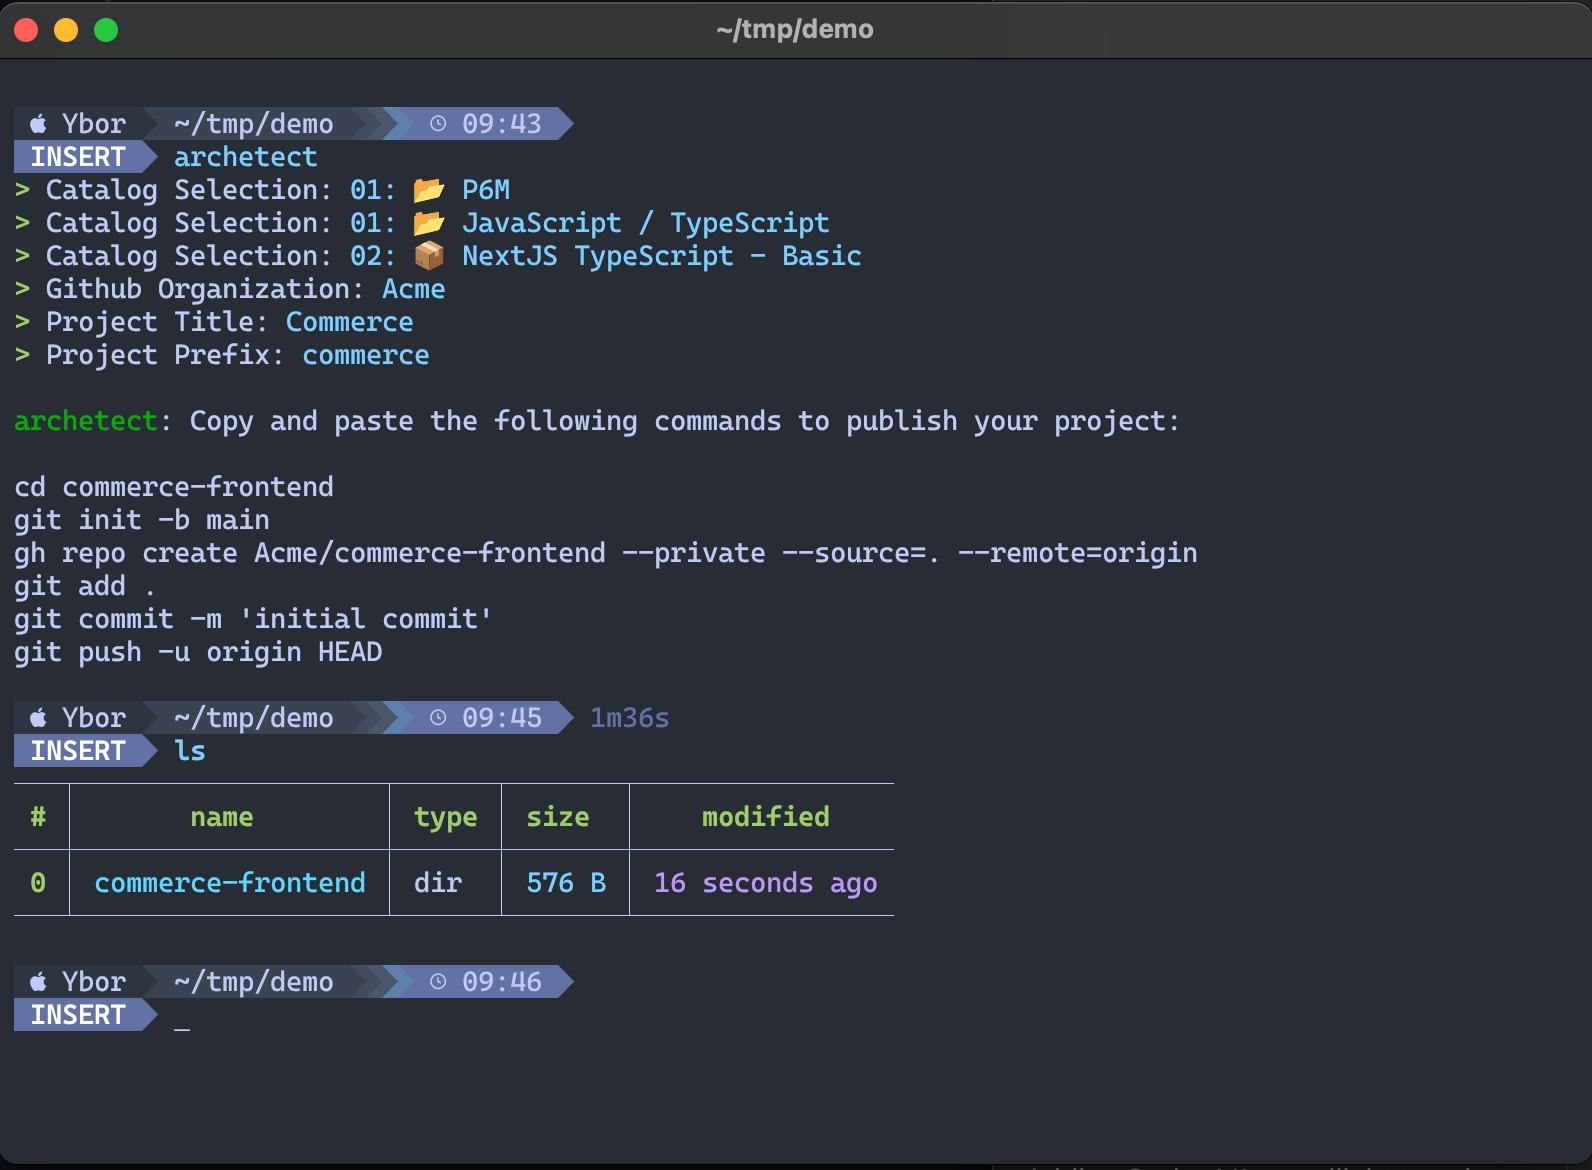
cd <project-name>
git init -b main
gh repo create <your-org>/<project-name> --private --source=. --remote=origin
git add .
git commit -m 'initial commit'
git push -u origin HEAD
What's Included in Your Generated Project
Every project generated through Archetect includes platform capabilities out-of-the-box:
| Capability | What You Get | Learn More |
|---|---|---|
| CI/CD Pipelines | GitHub Actions for build, test, version tagging, and promotion | Builds |
| Container Configuration | Optimized Dockerfile with multi-stage builds | Containerization |
| Deployment Manifests | PlatformApplication with Kustomize overlays for dev/staging/prod | Deployments |
| Health Endpoints | /health, /health/live, /health/ready endpoints | Health Checks |
| Structured Logging | JSON logging configured for platform collection | Logging |
| Metrics & Tracing | Prometheus metrics endpoint and OpenTelemetry hooks | Metrics, Tracing |
These are pre-configured to work with the Ybor Platform. Consult the reference documentation to customize behavior or understand how each capability works.
Post-Creation Steps
- Review the generated README for setup instructions and architecture overview
- Configure any required secrets or environment variables
- Run the application locally to verify
- Review CI/CD pipelines in GitHub Actions
- Check Argo CD for application deployment status
Related
- Ybor Studio Approach – Web-based project creation
- Archetect Setup Guide – Installation and configuration
- Integrating Existing Applications – Add these capabilities to existing applications
Reference: JIRA ticket YP6M-1172